
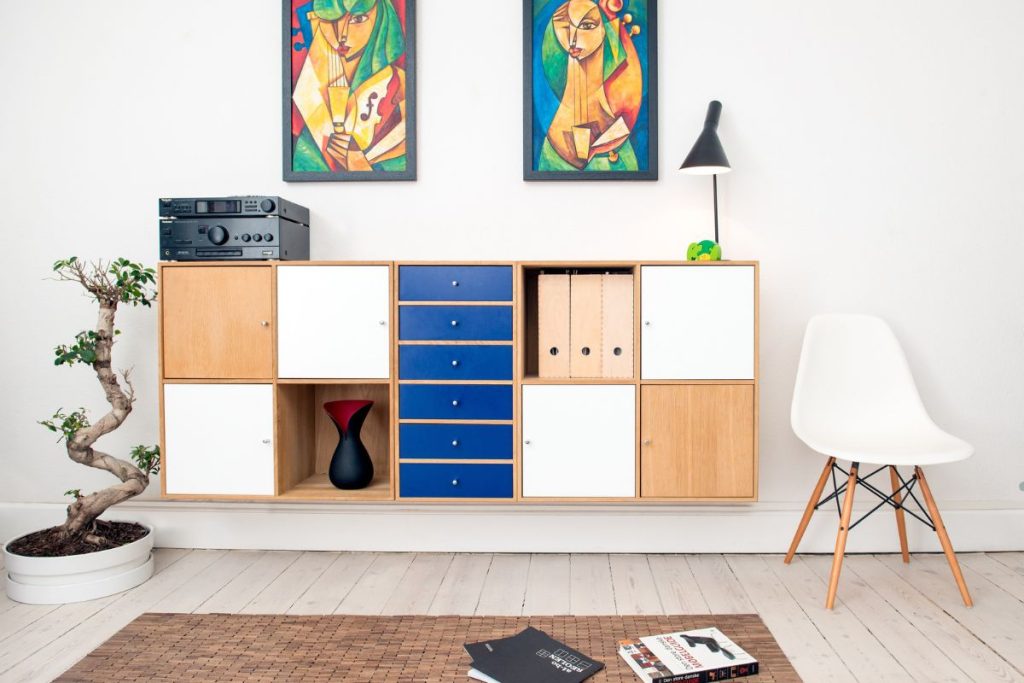
Is your beloved IKEA furniture looking a little worse for wear? Before you consider replacing it, know that many common IKEA furniture issues can be easily repaired at home! This guide provides simple DIY fixes, expert tips, and solutions to common problems that will breathe new life into your furniture and save you money in the long run.
Why Repair IKEA Furniture?
IKEA furniture is known for its affordability and stylish designs, but sometimes it doesn’t have the longest lifespan. Instead of contributing to landfills and spending money on replacements, repairing your IKEA furniture is a smart and sustainable choice. Not only will you save money, but you’ll also gain a sense of accomplishment from fixing things yourself! Learning simple DIY furniture repair techniques can extend the life of your favorite pieces. It’s a win-win for your wallet and the environment. Plus, mastering IKEA furniture repair guide skills is easier than you might think.
Gathering Your IKEA Repair Toolkit
Before you start, you’ll need to gather a few essential tools. A well-stocked toolkit will make the repair process much smoother.
Essential Tools
Here’s a list of must-have tools:
- Screwdrivers: A set of both Phillips head and flathead screwdrivers in various sizes is essential.
- Allen Wrenches (Hex Keys): Keep the set that came with your IKEA furniture; these are often needed to tighten connections.
- Hammer: For tapping in dowels and other hardware.
- Wood Glue: For repairing loose joints and broken pieces.
- Wood Filler: To fill in scratches, dents, and holes.
- Sandpaper: For smoothing rough surfaces after using wood filler.
- Measuring Tape: Essential for accurate measurements when replacing parts.
- Clamps: To hold pieces together while glue dries.
Our services include professional furniture repair and restoration to bring new life to your pieces. Explore our services here.
Sourcing Replacement Parts
One of the biggest challenges of repairing IKEA furniture is finding replacement parts. Fortunately, there are several options:
- IKEA Customer Service: Contact IKEA customer service directly. They may be able to provide replacement screws, dowels, or even entire sections of furniture, especially if the item is still under warranty.
- Online Retailers: Websites like Amazon and eBay often sell generic furniture hardware that is compatible with IKEA products. Search for specific types of screws, bolts, or dowels.
- Hardware Stores: Your local hardware store may also carry a selection of furniture hardware. Take the broken or missing part with you to ensure a proper match.
Revive your worn-out furniture with our expert repair and reupholstery services! From sofas to chairs, we restore beauty and comfort. Call us today for a free quote and give your furniture a brand-new life!
Diagnosing and Addressing Common Issues
Now, let’s dive into some common IKEA furniture problems and how to fix them.
Wobbly Furniture Legs
Wobbly furniture legs are a frequent issue, often caused by loose screws or uneven floors.
- Tighten Screws: Check all screws connecting the legs to the frame and tighten them securely.
- Use Furniture Pads: If the floor is uneven, place furniture pads under the legs to level the piece.
- Reinforce the Connection: If tightening the screws doesn’t work, consider adding wood glue to the joints for a more secure bond.
Drawer Issues (Sticking, Alignment)
IKEA drawers can sometimes stick, misalign, or be difficult to open and close.
- Check for Obstructions: Make sure there are no objects blocking the drawer’s path.
- Tighten Drawer Slides: Ensure the drawer slides are securely attached to the drawer and the frame.
- Lubricate the Slides: Apply a lubricant like silicone spray or furniture wax to the slides to reduce friction.
- Re-align the Drawer: If the drawer is misaligned, loosen the screws holding the slides and adjust the drawer’s position before retightening.
Surface Scratches and Dents
Scratches and dents are inevitable, but they can be minimized.
- Scratch Repair Markers: Use a furniture scratch repair marker that matches the color of your furniture.
- Wood Filler: For deeper scratches and dents, apply wood filler, let it dry, sand it smooth, and then apply a matching stain or paint.
- Touch-Up Paint: IKEA sometimes sells touch-up paint for their furniture. Check their website or customer service.
Is your once-gorgeous resin wicker patio furniture starting to show signs of wear and tear? Don’t be too quick to replace it! With a bit of effort and this step-by-step guide, you can repair broken strands, prevent unraveling, and restore your outdoor seating to its former glory. From gathering the right tools to adding the finishing touches, we’ll walk you through the entire process. Let’s dive in! For more detailed tips, check out our previous blog: Revive Your Patio: A DIY Guide to Repairing Outdoor Resin Wicker Furniture.
Broken Bed Slats
Broken bed slats can compromise the support of your mattress.
- Replace the Slat: Purchase a replacement slat from IKEA or a hardware store. Measure the broken slat to ensure you get the correct size.
- Reinforce Existing Slats: If you don’t have a replacement, you can reinforce the broken slat with a piece of wood and wood glue.
Damage to Veneer
IKEA furniture often has a veneer finish that can chip or peel.
- Re-glue Loose Veneer: Apply wood glue to the back of the loose veneer and clamp it in place until the glue dries.
- Use Wood Filler for Chips: Fill in chips with wood filler, sand it smooth, and then paint or stain to match the surrounding veneer.
Don’t replace your worn-out IKEA furniture just yet! Our DIY guide helps you fix common issues with ease. Need professional assistance? Call us now for expert furniture repair services and extend the life of your favorite pieces.
Advanced Repair Techniques for IKEA Furniture
Sometimes, simple fixes aren’t enough. Here are some more advanced techniques.
Reinforcing Joints
Loose joints can cause furniture to wobble or break.
- Disassemble the Joint: Take apart the joint and clean off any old glue or debris.
- Apply Wood Glue: Apply a generous amount of wood glue to all surfaces of the joint.
- Clamp the Joint: Clamp the joint together tightly and let the glue dry completely.
- Add Screws or Dowels: For added strength, consider adding screws or dowels to reinforce the joint.
Filling Holes and Cracks
Larger holes and cracks require more than just wood filler.
- Use a Dutchmen Patch: A Dutchmen patch is a precisely fitted piece of wood that is glued into a hole or crack. This provides a strong and durable repair.
Re-Gluing Loose Pieces
If a piece of furniture comes unglued, it’s important to re-glue it properly.
- Clean the Surfaces: Remove any old glue or debris from both surfaces.
- Apply Wood Glue: Apply a generous amount of wood glue to both surfaces.
- Clamp the Pieces: Clamp the pieces together tightly and let the glue dry completely.
Replacing Damaged Hardware
Damaged hardware can compromise the functionality and appearance of your furniture.
- Remove the Old Hardware: Carefully remove the damaged hardware.
- Find a Replacement: Purchase a replacement from IKEA, a hardware store, or an online retailer.
- Install the New Hardware: Install the new hardware according to the manufacturer’s instructions.
Caring for Your IKEA Furniture
Preventative maintenance is key to extending the life of your IKEA furniture.
Cleaning and Dusting
Regular cleaning and dusting will prevent dirt and grime from building up.
- Use a Soft Cloth: Use a soft, dry cloth to dust your furniture regularly.
- Use a Mild Cleaner: For more stubborn dirt, use a mild cleaner specifically designed for furniture.
Tightening Screws Regularly
Loose screws can cause furniture to wobble or break.
- Check Screws: Check the screws on your furniture regularly and tighten them as needed.
Avoiding Moisture Damage
Moisture can damage wood and cause it to warp or rot.
- Keep Furniture Dry: Avoid placing furniture in damp or humid areas.
- Use Coasters and Placemats: Use coasters and placemats to protect furniture from spills.
Using Furniture Pads
Furniture pads can protect your floors from scratches and dents.
- Place Pads Under Legs: Place furniture pads under the legs of your furniture to prevent damage to your floors.
Give IKEA furniture a Second Life: Upcycling and Repurposing
Don’t just repair; reimagine! Repurposing broken IKEA pieces unlocks incredible creativity. Transform a damaged dresser into a unique kitchen island, or convert old bed slats into a stunning headboard. The possibilities are endless!
Extending the Life of Your IKEA Furniture
By following these tips and techniques, you can extend the life of your IKEA furniture and save money in the long run. Don’t be afraid to tackle DIY repairs – with a little patience and the right tools, you can keep your IKEA furniture looking its best for years to come.
Frequently Asked Questions (FAQ)
What tools do I need for most IKEA furniture repairs?
A basic toolkit should include screwdrivers (Phillips and flathead), Allen wrenches, a hammer, wood glue, wood filler, sandpaper, a measuring tape, and clamps.
Where can I find replacement parts for my IKEA furniture?
Check IKEA customer service, online retailers like Amazon and eBay, or your local hardware store.
How do I fix a wobbly IKEA table?
Tighten all screws connecting the legs to the frame. If the floor is uneven, use furniture pads to level the piece.
Can I repair damaged IKEA veneer?
Yes, re-glue loose veneer with wood glue and clamp it in place. For chips, use wood filler, sand it smooth, and then paint or stain to match.
How can I prevent my IKEA furniture from getting damaged?
Regularly clean and dust, tighten screws, avoid moisture, and use furniture pads.
Give your old furniture a fresh new look! Our expert repair and reupholstery services restore beauty and comfort to your favorite pieces. Contact us today for a free quote and bring your furniture back to life!